As the sun set on a chilly autumn evening, the aroma of freshly baked chicken filled my home. It brought a warmth that went beyond the changing seasons. Standing in the kitchen, I watched the golden-brown skin crisp up. I couldn’t wait for that first tender bite.
Baking bone-in chicken breasts has become a favorite dinner choice for me. It provides a delicious and satisfying meal that leaves my family feeling nourished and content.
If you’re looking to improve your dinner game with a foolproof recipe, you’re in the right place. In this guide, I’ll show you how to prepare and bake bone-in chicken breasts to perfection. Every bite will be a delight.
baked chicken breast bone in
Key Takeaways
- Bone-in chicken breasts are a budget-friendly and flavorful option for baking.
- A simple brine can help ensure the chicken stays moist and tender during baking.
- Brushing the chicken with butter or olive oil before seasoning adds an extra layer of flavor and crispiness.
- High-heat roasting at 450°F results in perfectly cooked chicken with a golden-brown, crispy skin.
- Letting the chicken rest before serving is crucial to retain the juices and maximize tenderness.
What Are Bone-In Chicken Breasts?
Definition and Benefits of Bone-In Chicken Breasts
Bone-in chicken breasts have the bone and skin on, unlike boneless and skinless ones. They are a favorite among cooks and chefs for good reasons.
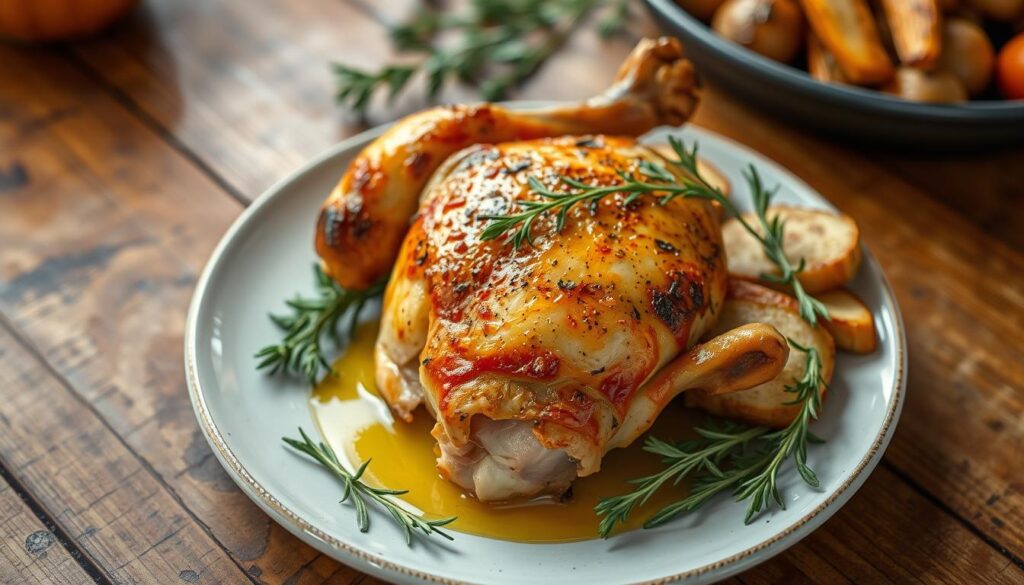
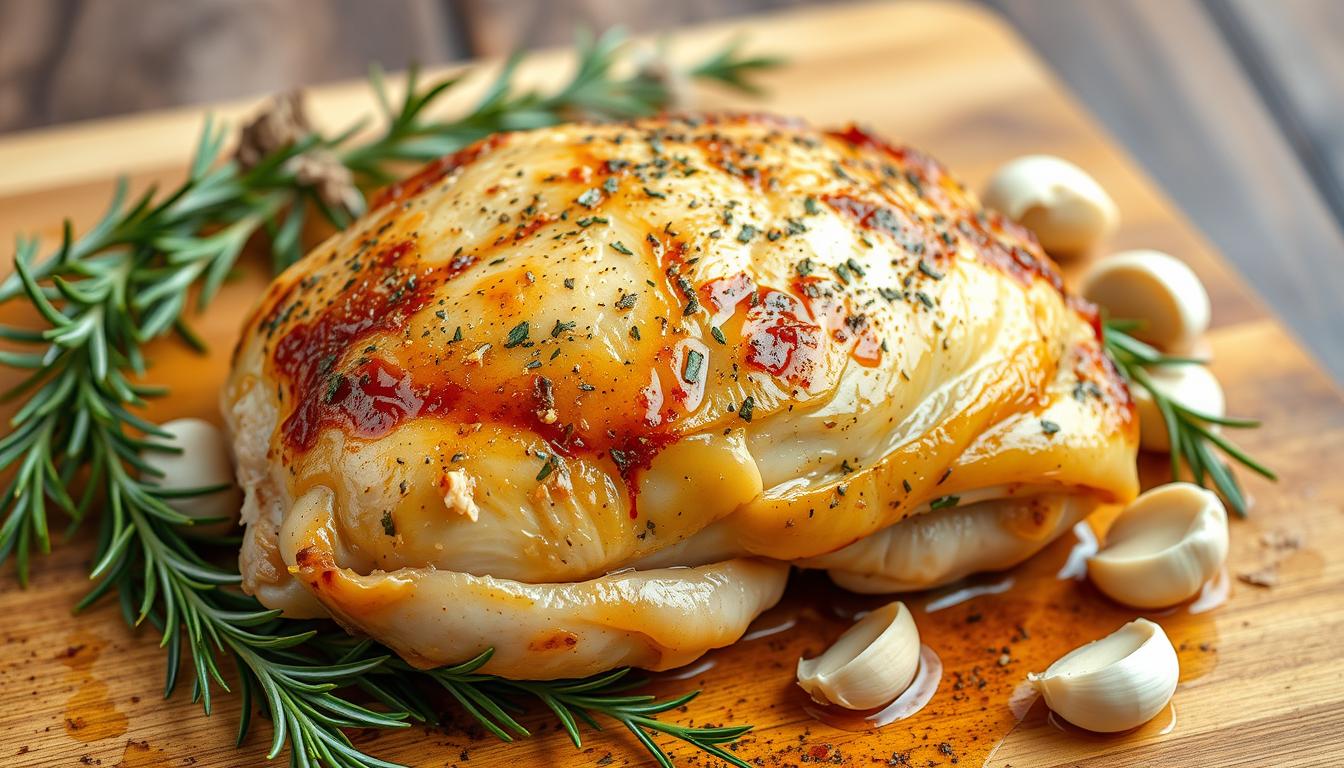
These breasts are juicier and taste better because of the bone. The bone keeps the meat moist, making it tender and flavorful. The skin also gets crispy when baked, adding a nice crunch.
Buying bone-in chicken breasts can save money. It’s cheaper than boneless, skinless cuts. You can get whole chickens and cut them into parts for a better deal.
If you want a real home-cooked taste, go for bone-in chicken breasts. They give a dining experience that boneless, skinless chicken can’t match.
| Bone-In Chicken Breasts | Boneless, Skinless Chicken Breasts |
|---|---|
| Retain moisture and flavor due to the bone | Tend to be drier and less flavorful |
| Crispy skin when baked | No skin for added texture |
| Often more cost-effective | Typically more expensive per pound |
| Provide a more traditional, home-cooked taste | Offer a more modern, lean protein option |
In short, bone-in chicken breasts are a tasty and versatile choice. They keep meat moist, are crispy, and save money. For a traditional and delicious chicken dish, bone-in breasts are the best pick.
Where to Find Bone-In Chicken Breasts
Looking for bone-in chicken breasts? They might not be easy to find in all stores. But, you can still get them by checking the right places. Look in the poultry section or ask the meat department if they have them.
Butcher shops and specialty markets are great places to find bone-in chicken breasts. They usually have more cuts, including bone-in ones. Also, many online stores now sell bone-in chicken breasts and deliver them to your home.
Don’t hesitate to ask your local grocery if they can get bone-in chicken breasts for you. Many stores will order them if there’s enough demand. With some effort, you can find the perfect bone-in chicken breasts for your next dish.
- Check the poultry section of your local grocery store for bone-in chicken breasts
- Inquire with the meat department about ordering bone-in chicken breasts
- Visit a butcher shop or specialty market for a wider selection of bone-in chicken options
- Search for online retailers that offer bone-in chicken breasts for delivery
“Bone-in chicken breasts are a game-changer in the kitchen. The extra flavor and juiciness they provide is unbeatable.”
Preparing Bone-In Chicken Breasts for Baking
To get juicy and flavorful baked bone-in chicken breasts, you need to prepare them right. Start by brining and seasoning the chicken. This locks in moisture and boosts the natural flavors.
Brining and Seasoning Tips
Begin by brining the bone-in chicken breasts. This means soaking them in a saltwater solution for 15-60 minutes. The brine seasons the meat from the inside and keeps it moist while baking.
After brining, dry the chicken well with paper towels. This helps the skin get crispy in the oven.
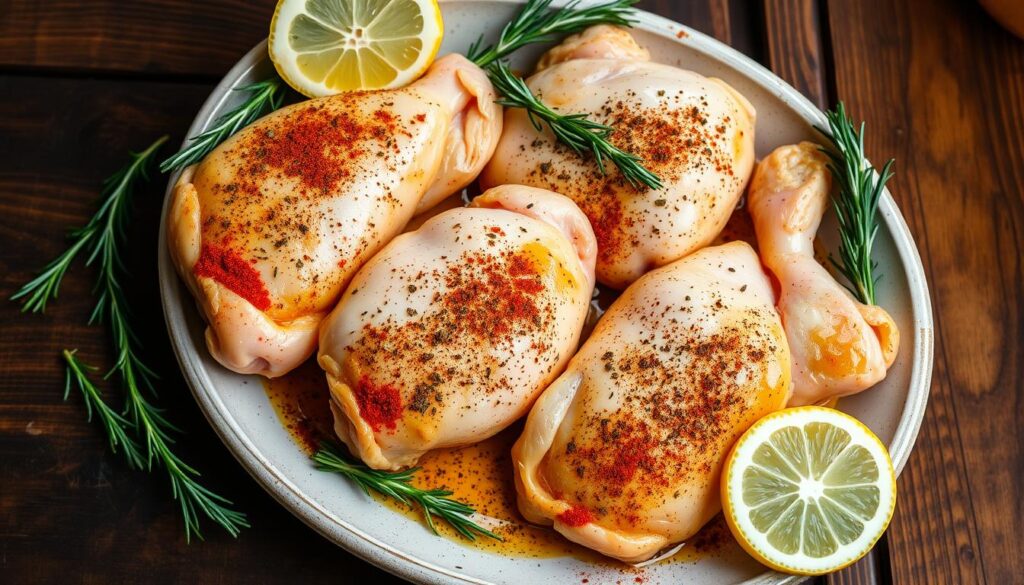
Next, lightly brush the chicken with oil or melted butter. This helps the seasonings stick and promotes even browning. Then, season the chicken all over with salt, black pepper, garlic powder, and paprika. This mix complements the chicken’s natural taste.
You can also try different dry rubs, marinades, or fresh herb mixtures. This lets you customize the flavor to your taste.
- Brine the bone-in chicken breasts for 15-60 minutes in a saltwater solution
- Pat the chicken dry thoroughly with paper towels
- Brush the chicken with oil or melted butter
- Season generously with salt, pepper, garlic powder, and paprika
- Try different dry rubs, marinades, or herb blends for added flavor
By brining and seasoning the bone-in chicken breasts, you’re on your way to perfectly baked, juicy, and flavorful chicken.
baked chicken breast bone in
For the best oven-baked bone-in chicken breasts, use high-heat roasting. Preheat your oven to 400°F. Place the chicken skin-side up on a baking sheet. Bake for 25-30 minutes, until it hits 165°F with a meat thermometer.
High heat makes the skin crispy and the meat juicy. This method is key for a recipe for baking bone-in chicken that everyone will love.
Here are some tips for perfect oven-baked bone-in chicken breasts:
- Let the chicken warm up to room temperature before baking.
- Pat the chicken dry with paper towels for crispier skin.
- Season it well with salt, pepper, and spices.
- Brush with melted butter or olive oil halfway through for extra crispiness.
By following these steps, you’ll get crispy skin bone-in chicken that wows everyone. Serve it with your favorite sides for a great meal.
| Metric | Value |
|---|---|
| Cooking Time | 25-30 minutes |
| Oven Temperature | 400°F |
| Internal Temperature | 165°F |

“The key to perfectly baked bone-in chicken breasts is high-heat roasting. This simple technique ensures a crispy skin and juicy, tender meat every time.”
Baking Temperature and Time
To bake bone-in chicken breasts, use an oven temperature of 400°F. This heat helps brown the skin and cooks the meat evenly. It prevents the meat from drying out.
The chicken should bake for 25-30 minutes. Check its internal temperature after 25 minutes. It’s ready when it hits 165°F in the thickest part of the breast.
Recommended Oven Settings
Preheat your oven to 400°F for the best results. This high heat is key for a crispy, golden-brown skin. It also keeps the juices in and prevents drying.
Bake the chicken for 25-30 minutes. Use a meat thermometer to check if it’s 165°F in the thickest part. This ensures it’s cooked through and safe to eat.
“The key to perfectly baked bone-in chicken breasts is high heat and a quick cooking time. This helps maintain the juiciness and prevent the meat from drying out.”
By following these oven settings, you’ll get crispy, flavorful bone-in chicken breasts. Always use a meat thermometer to make sure the chicken is fully cooked and safe to eat.
Checking for Doneness
To make sure your baked bone-in chicken breasts are cooked right, use a meat thermometer. Stick the thermometer into the thickest part of the breast, avoiding the bone. The chicken is ready when it hits 165°F (74°C) inside.
Other signs include clear juices when you pierce the meat and the flesh looking opaque. But, a meat thermometer is the best way to check the chicken’s internal temperature.
Don’t rely just on how the chicken looks. It might look done on the outside but still be raw inside. So, always use a meat thermometer to ensure your chicken is cooked and safe.
Recommended Internal Temperatures
- Poultry (including chicken breasts): 165°F (74°C) or higher
- Beef, pork, lamb, and veal: 145°F (63°C) for medium rare, 160°F (71°C) for medium, 170°F (77°C) for well-done
- Ground meats: 160°F (71°C)
- Fish: 145°F (63°C)
By following these guidelines and using a meat thermometer, you can be sure your baked bone-in chicken breasts are cooked perfectly and safe to eat.
“Using a meat thermometer is the most foolproof way to ensure your bone-in chicken breasts are fully cooked and safe to eat.”
Resting and Serving Baked Bone-In Chicken
After your baked bone-in chicken breasts are done, let them rest for 5-10 minutes. This step makes the meat tender and juicy. While waiting, you can get ready your sauces or garnishes.
Once rested, you can serve the chicken whole or sliced. Bone-in chicken breasts are a hit with everyone. The resting time ensures every bite is juicy and full of flavor.
To serve baked bone-in chicken well, slice the breasts and put them on a platter. This makes it easy for guests to enjoy the meat. You can also serve the chicken whole with your favorite sides, like roasted veggies or a fresh salad.
Resting the chicken properly helps keep its juices and tenderness. This simple step makes your baked chicken dish even more delicious.
“Letting the chicken rest is the key to achieving that perfect balance of juicy, tender meat. It’s a small step that makes all the difference.”
The recommended resting time for baked bone-in chicken breasts is 10 minutes. This ensures the best texture and flavor.
By following these tips, you’ll get a dish that looks great and tastes amazing. Enjoy the delicious results of your hard work!
Flavor Variations and Seasonings
Get creative in the kitchen by trying out different herbs, spices, and marinades. These can make your baked bone-in chicken breasts taste amazing. Don’t just stick to salt, pepper, and paprika. Try these tasty options instead:
Herb and Spice Blends
- Aromatic rosemary, thyme, and oregano give a savory Italian taste.
- Fragrant basil, garlic, and lemon zest add a Mediterranean vibe.
- Smoky paprika, chili powder, and cumin bring a Southwestern flavor.
- Warm cinnamon, ginger, and allspice create cozy, autumnal notes.
Marinades for Bone-In Chicken Breasts
Marinating your chicken before baking can make a big difference. It keeps the meat moist and boosts the flavor. Here are some marinade ideas:
- Tangy balsamic vinegar, garlic, and herbs
- Zesty lemon, olive oil, and fresh parsley
- Sweet and savory teriyaki or soy sauce-based blends
- Bold barbecue or Southwestern-inspired sauces
Marinate the chicken for at least 30 minutes. Or, for even more flavor, marinate it for up to 4 hours. Then, bake it as usual for a juicy, flavorful dish.

“Elevating your baked bone-in chicken breasts with creative seasonings and marinades is the secret to transforming a simple dish into a culinary masterpiece.”
Side Dish Pairings
There are countless delicious side dishes to go with baked bone-in chicken breasts. Classic choices like roasted potatoes, steamed broccoli, or a fresh garden salad are always a hit. For a heartier meal, try pairing the chicken with creamy mashed potatoes, fluffy dinner rolls, or a quinoa and vegetable medley.
Want to try something different? Baked bone-in chicken goes well with heartier dishes like macaroni and cheese, loaded baked potatoes, or a creamy mushroom risotto. Seasonal sides like roasted Brussels sprouts, broccolini with garlic, or a fall salad with apples and squash are also great choices.
| Side Dish | Preparation Time | Key Ingredients |
|---|---|---|
| Baked Brussels Sprouts | 25 minutes | Brussels sprouts, olive oil, Parmesan cheese |
| Cheesy Broccoli Casserole | 45 minutes | Broccoli, cheddar cheese, breadcrumbs |
| Roasted Smashed Potatoes | 40 minutes | Potatoes, olive oil, garlic, Parmesan cheese |
| Bacon-Wrapped Asparagus | 30 minutes | Asparagus, bacon, lemon juice |
Choosing the right side dishes is key to enjoying baked bone-in chicken breasts. With so many vegetable, starch, and salad options, you’re bound to find the perfect match. This will make your meal satisfying and well-rounded.
Storing Leftovers
Storing leftover baked bone-in chicken properly is key for safety and quality. Cooked chicken can last several days in the fridge and even longer in the freezer.
To store in the fridge, put the chicken in an airtight container. Keep it at 40°F or below. It will stay fresh for 3-4 days. For longer storage, freeze it. Use a freezer-safe bag or container and freeze for up to 3 months.
To thaw frozen chicken, place it in the fridge overnight. This slow thawing prevents bacterial growth. Once thawed, reheat it in the oven, microwave, or on the stovetop until hot all the way through.
- Refrigerator storage: 3-4 days at 40°F or below
- Freezer storage: Up to 3 months
- Thaw in the refrigerator before reheating
Leftover baked bone-in chicken is great in soups, salads, sandwiches, and more. Follow these tips to enjoy your chicken for days.
| Storage Method | Recommended Storage Time |
|---|---|
| Refrigerator (40°F or below) | 3-4 days |
| Freezer | Up to 3 months |
Keeping the chicken at the right temperature is crucial for safety. Follow these guidelines to enjoy your chicken without worry.
Conclusion
Baking bone-in chicken breasts in the oven is easy and tasty. Just follow a few steps: brining, brushing with oil, seasoning, high-heat roasting, and letting it rest. This way, you get juicy chicken with crispy, flavorful skin. You can season it many ways and serve it in different ways, making it a great meal addition.
Trying this method for your next chicken dinner will surely impress. You’ll get mouthwatering results every time.
Looking to recap the best tips for baking bone-in chicken? Or maybe you want to reflect on the final thoughts on cooking bone-in chicken breasts? Or just summarize the key steps for perfect baked bone-in chicken? This conclusion covers it all. With the right techniques, you can make amazing meals at home.
Next time you want a comforting chicken dinner, bake bone-in chicken breasts. Follow the tips from this article. You’ll impress your family and friends with your cooking skills.
FAQ
What are bone-in chicken breasts?
Where can I find bone-in chicken breasts?
How do I prepare bone-in chicken breasts for baking?
What is the best oven temperature and cooking time for baking bone-in chicken breasts?
How can I tell when bone-in chicken breasts are fully cooked?
What are some tasty seasoning and flavor ideas for baked bone-in chicken breasts?
What are some good side dish options to serve with baked bone-in chicken breasts?
How should I store leftover baked bone-in chicken breasts?
Source Links
- Baked Chicken Breast | Gimme Some Oven – https://www.gimmesomeoven.com/baked-chicken-breast/
- Oven Roasted Split Chicken Breasts – https://mytxkitchen.com/oven-roasted-split-chicken-breasts-bone-in/
- Baked Tuscan Chicken Breasts [VIDEO] – The Recipe Rebel – https://www.thereciperebel.com/baked-tuscan-chicken-breasts/
- Baked Bone-In Chicken Breast – https://cookthestory.com/baked-bone-in-chicken-breast/
- Baked Bone-In Chicken Breasts – https://themom100.com/recipe/baked-bone-in-chicken-breasts/

